
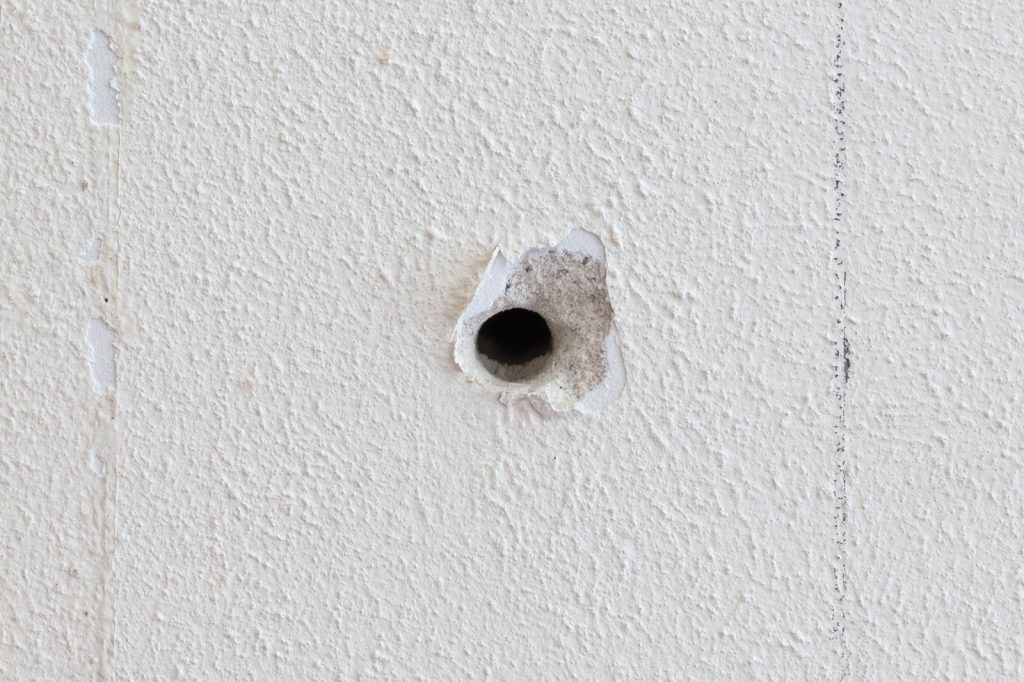
Moving into a rental property often means accepting existing wear and tear from previous tenants. While scuffs and scratches may add “character,” holes in the walls detract from your home’s appearance and could cost you your security deposit when moving out.
As a tenant, you’re usually responsible for fixing any non-structural damage beyond normal wear and tear under the terms of your tenancy or lease. That includes holes of any size in the walls. The good news is that you can easily patch holes in plaster using basic filler techniques. With a few supplies and some careful prep, you can repair wall holes for a seamless, professional-looking fix.
In this DIY guide, you’ll learn the steps for repairing both types of wall(plaster and lath) holes to keep your UK rental property in good condition.
Follow these simple directions to restore your damaged walls and maintain a positive tenant-landlord relationship. Let’s get those holes handled.
How to Repair Holes in Plaster Walls
Things You’ll Need To Repair Holes in Your Plaster Walls
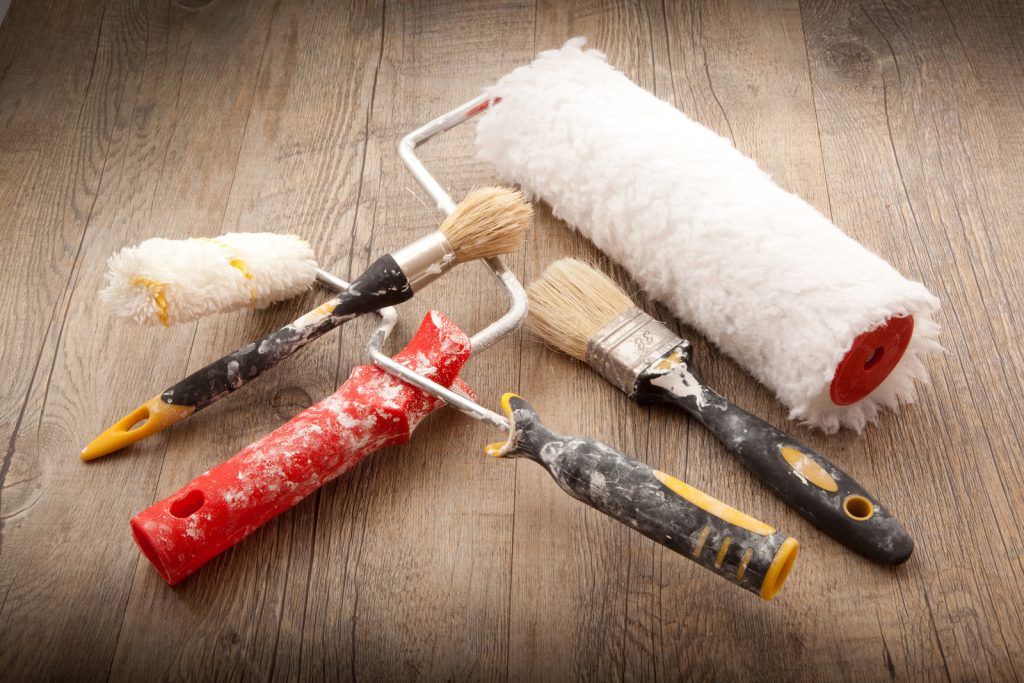
Repairing holes in your walls requires just a few supplies, most of which you may already have at home:
- Filler or polyfilla paste – Look for a lightweight filling compound intended for small plaster repairs.
- Filling knife – A small, flexible blade helps apply filler smoothly into holes and cracks.
- Sandpaper – Fine grit sandpaper (120-150 grit) smoothes filled areas.
- Primer – Choose an interior wall primer suited for patched areas.
- Paint – Match the colour already on your walls.
- Paintbrush – Opt for an angled sash brush for best coverage.
- Vacuum with brush attachment – To remove dust and debris from the repair area.
- Drop cloth – Protect floors and furniture from paint drips.
| Helpful TIP: Before starting any work, always check your lease terms and get approval from your landlord regarding DIY repairs. Some leases require all repairs be done by a professional. |
Step # 1 – Prepare the Damaged Area
Preparing the hole and surrounding wall area is key to achieving an invisible patch. Follow these steps to get your work area inspection-ready:
Clear Away Loose Material
Use a vacuum hose, dry brush, or compressed air to clean inside the hole deeply and remove any flaking plaster, dust, or debris.
Wipe Clean
Lightly dampen a clean cloth with water and gently wipe both inside the hole and the surrounding area about 2 inches around it. Let dry fully.
Measure the Hole
Use a tape measure to measure the hole’s length and width in inches. This gives you an estimate of how much filler you’ll need to fill it.
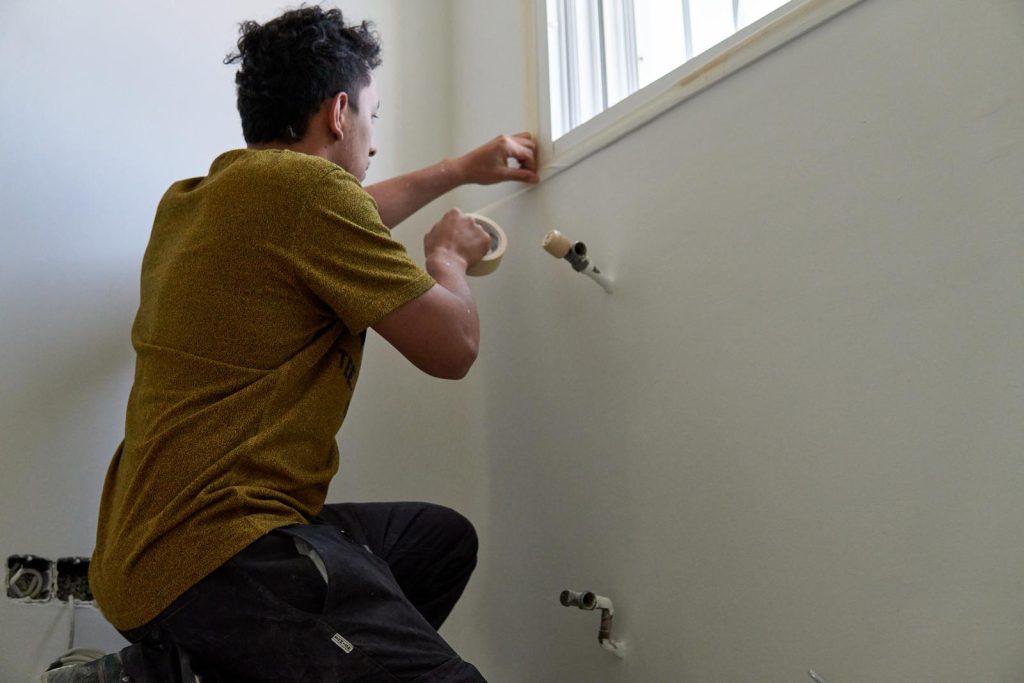
Cover or Tape Off Nearby Areas
Protect nearby walls, floors, trim or furniture from paint splatter by taping dust sheet around the work area. Cover door knobs and switch plates too.
Now, your hole is prepped and ready for patching!
Step # 2 – Apply Filler for Seamless Fills
With your workspace set up, it’s time to mix up some filler. Here’s how to neatly fill holes or cracks with a filling knife for flawless results:
Use Lightweight Filler
Look for premixed lightweight filler compound designed to dry fast and shrink minimally. This prevents future cracking or sagging as it dries.
Load the Filling knife
Dip the filling knife into the Polyfilla tub and transfer a glob slightly larger than the hole onto the knife.
Fill the Hole
Starting at the edges, press the filling knife loaded with filler into the hole, letting it overflow past the edges slightly.
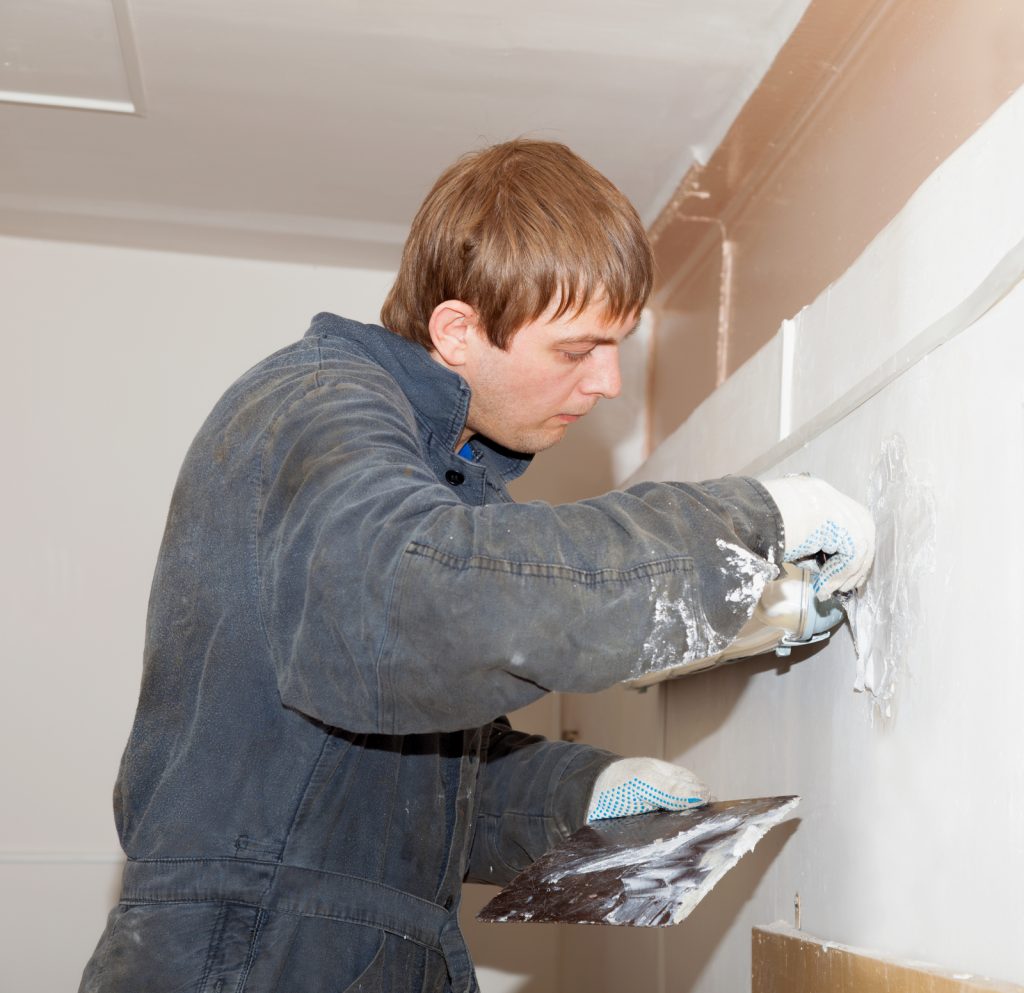
Smooth the Surface
In a scraping motion, smooth away excess filler until the filled area sits level with the wall around it. Wipe the knife clean.
Let It Dry!
Leave the filled area undisturbed for at least 24 hours to fully cure. Cool, dry conditions speed drying time.
Add Additional Layers if Needed
For larger holes or uneven areas, repeat the steps above to add additional thin layers of filler until flush with the wall. Let dry between coats.
With practice, you’ll be able to patch holes for a perfectly smooth, professional finish ready for painting.
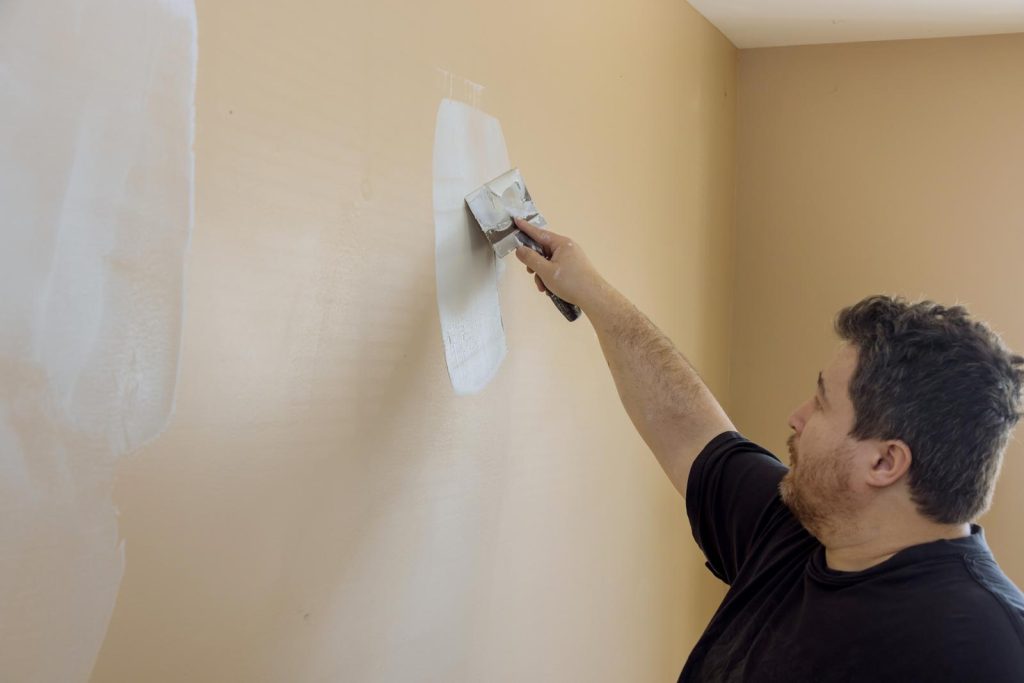
Step # 3 – Do Sanding for a Seamless Blend
Once your filler has dried thoroughly, light sanding easily smooths the area for a seamless blend into the wall. Here’s how:
Choose Fine Sandpaper
Use 120-150 grit sandpaper to gently smooth the hardened filler until perfectly flush with the wall surface.
Blend the Edges
With a light, circular motion, carefully feather out the edges of the patch to create a tapered transition into the existing wall.

Remove All Dust
Use a dry microfiber cloth or vacuum hose to thoroughly remove every speck of dust created from sanding. Wipe the surrounding area clean, too.
Spot Check Smoothness
Run your hand over the sanded patch to ensure it feels completely smooth and even with the wall, with no bumps or uneven spots.
Proper sanding ensures your patch will be invisible once painted over.
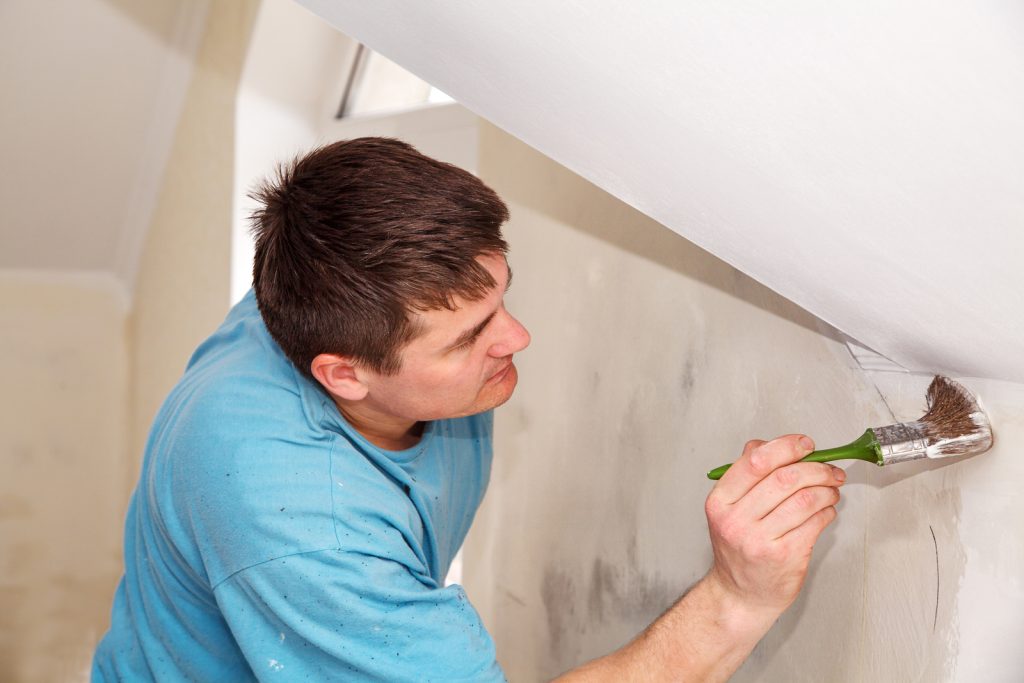
Step # 4 – Finish It Off: Priming and Painting
With your hole patched and sanded, just a few coats of primer and paint will hide any signs of repair. Here are the finishing steps:
Prime First
Lightly apply a thin, even layer of high-quality interior wall primer over the entire sanded area. Let it dry fully before painting.
Paint to Match
Use a small angled sash brush to carefully paint the patched area, feathering out about an inch beyond the edges. Match the existing wall colour exactly.
Wait Between Coats
Allow the first coat of paint to dry fully before adding a second coat to ensure optimal coverage and avoid drips. Add a third coat if needed.
Blend the Paint Edge
If a faint edge remains around your painted patch, lightly feather out the paint further using a clean, dry brush.
Remove Painter’s Tape
Once paint is fully dried, gently remove any painter’s tape and dust sheet. Reattach switches or hardware removed earlier.
With primer and paint applied, your wall should look pristine again!
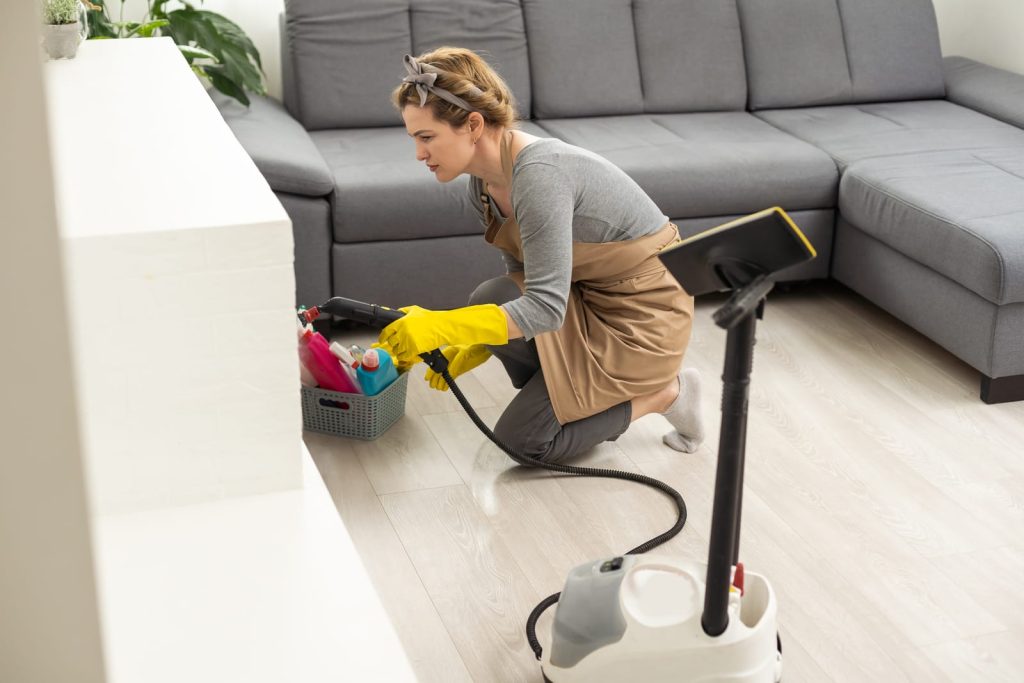
Step # 5 – Aftercare: Clean Up and Protect Your Work
You did it – your wall hole is successfully patched, blended and painted over as if it never existed! But your work isn’t quite done yet:
Let Paint Fully Cure
Leave the freshly painted area undisturbed for at least 24 hours while the paint fully cures. Avoid wiping or cleaning it during this time.
Clean Your Tools
Wash any paintbrushes used in warm, soapy water. Scrape off excess filler from your filling knife using a paint scraper.
Dispose of Leftover Paint Properly
Check for local hazardous waste disposal sites to properly dispose of any unused paint, primer and filler tubs. Do not pour them down the drain.
How to Repair Holes in Lath Walls
Lath and plaster walls require specialized techniques to patch holes properly. With the right materials and care, you can repair popped holes for smooth, long-lasting results.
Gather the Right Repair Supplies
You’ll need:
- lath strips or mesh
- joint compound
- Primer
- paint
- tools like a filling knife, hammer, and sandpaper
- Oil-based primer for best adhesion on plaster
Pro Tip: An oscillating multi-tool carefully cuts lath strips and plaster to size for damaged areas.
Step # 1 – Secure the Lath Around the Hole
Inspect inside the hole with a flashlight to locate any loose or protruding lath strips. Use a hammer to tap short plaster screws every few inches into the lath, securing it tightly back to the wall studs or framework. This prevents future cracking.
Helpful Tip: Wear safety goggles when securing loose lath to avoid eye injuries from flying plaster shards.
Step # 2 – Clean and Prepare the Hole
Use a vacuum hose or compressed air to remove all loose plaster or debris inside the hole. Wipe the inside of the hole with a damp cloth, then let it fully dry. This removes dust for better filler adhesion.
Step # 3 – Fill the Hole with a Joint Compound
Use a filling knife to press the lightweight joint compound into the hole, letting it slightly overfill. Smooth the surface flush with the surrounding wall. Allow the compound to cure for 24-48 hours before sanding to prevent cracking.
Step # 4 – Blend Edges with Sanding
Use 120-grit sandpaper to gently smooth the hardened compound until seamlessly flush with the wall. Carefully feather out the edges so they taper smoothly into the existing plaster.
[Close up of the feathered edge of the sanded joint compound blend into plaster.]
Step # 5 – Prime and Paint the Repair
Apply 1-2 coats of oil-based primer over the sanded patch and let fully dry. Use a small brush to paint over the repair, blending into the existing wall colour. Allow 2-3 thin coats to dry fully between each.

Helpful Tip: Lightly sand between paint coats for maximum adherence on slick plaster.
Step # 6 – Protect and Check the Repaired Area
Avoid knocking the patched area while the paint fully cures over 2-3 days. Periodically check for any recurring cracks, as aging plaster can re-crack. Immediately reinforce and refill any problem spots.
FAQs
How do I match old paint color?
Bring a paint chip to the hardware store and ask them to colour-match it or scan it for an exact match. Some landlords also keep paint colours on file, so don’t hesitate to ask.
What colour primer should I use?
A white primer undercoats the patch so the new paint colour matches the walls. Grey primer can be used for dark paint colours.
What if the hole keeps coming back?
The area may need reinforcing behind the patch, such as securing loose lath strips or adding additional plaster backing before filler if the underlying issue isn’t resolved.
What about textured walls or wallpaper?
Textured wall repairs are tricky for beginners – you may need a plasterer. For wallpaper, recruit a decorator to match and replace the patched section.
When should I call a pro?
For large holes wider than 6 inches, structural damage, recurrent holes, or complex wall repairs, it’s best to have a trained plasterer handle the fix.
Contact K&G Lettings for Support
We hope this guide has equipped you with the skills and know-how to successfully repair popped holes in your lath and plaster walls. While the process involves careful preparation and patience as layers dry, you can achieve seamless results. Well-repaired walls keep your ageing rental tidy and prevent losing your security deposit.
K&G Lettings Limited aim to provide tenants like you with useful maintenance guidance to make renting a property easy. Please review the range of quality rental homes we have available across the UK.
As your rental agent, K&G Lettings is here to support you in keeping your home in prime condition. Get in touch with our team to learn more about our offerings. We look forward to helping you find your perfect rental property.